CP-Server


|
CP-Server |
|
|
1. Start the installation Run the program Setup.exe from the [DVD]:\Setups\CP-Suite\CP-Server x64 folder. First, choose the language.
2. System prerequisites check At the beginning of the installation, you will see a list of all the missing software prerequisites. You can cancel the installation of the optional components in the next step, if you wish. All the required components will install automatically. An installed Microsoft SQL Server 2016 SP1 or higher is prerequisite for installing the CP-Server.
You need to restart the system following the Microsoft .NET installation. Since the computer will normally restart automatically, please close all open documents and applications before running the installation.
3. Select the installation directory When you have accepted the licensing agreements, select the installation directories. CP-Server x64 (64 bit) installs to 2 installation directories: one for the 32-bit components and one for the 64-bit components.
When you have confirmed or changed the installation directories, you will come to the feature selection step.
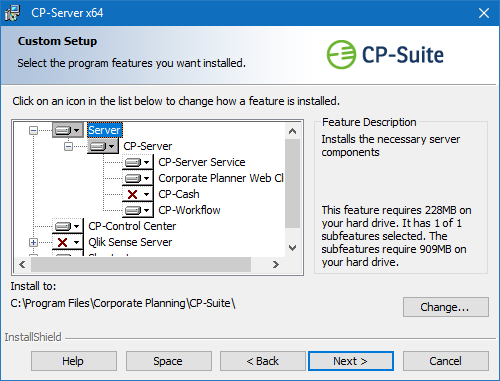
4. Select the features
For an explanation of the symbols, click "Help". You can select the following features:
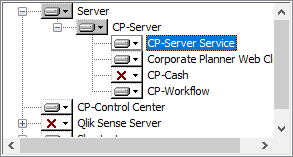
Server: Select the required features according to the CP-Suite modules included in your licence. Click the feature menu to cancel the selection of all the other features:
The CP-Suite application server (CP-Server) installs as a service by default. If you do not wish to install the application server as a service, disable the "CP-Server Service" option under "CP-Server" in the Features menu.
CP-Server Installs the application server of the CP-Suite.
Corporate Planner Web Client: Installs the Corporate Planner Web Client. This feature is also necessary if you have licensed the CP-Sales Dashboard.
CP-Dashboard: This feature is required for displaying Qlik dashboards. For this you will need a functioning Qlik Sense Server.
CP-Control Center: In the CP-Control Center, you can manage all users, roles, data sources and licences, and you can assign access rights. This feature installs automatically with every CP-Server installation, so you need not install a separate CP-Suite client for the administration of the CP-Suite. You can cancel the selection of the CP-Control Center if you do not want to install it on the server.
Qlik Sense Server: This feature installs the Qlik Sense Server, with which you can create charts depicting your business figures if you have a licence for it. It is not selected by default. The Qlik Sense Server installation must be carried out before the CP-Server installation. For installation details please read the chapter Qlik Sense Server. If an installed Qlik Sense Server is already available, this feature is not necessary.
If you select the Qlik Sense Server installation, you have the option of installing CP-Connectivity Qlik, the Corporate Planner Suite interface to Qlik. This feature is not selected by default.
Shortcuts: This feature creates a shortcut to each feature in the Windows Start menu and on the desktop. You can cancel the selection of the shortcuts in the features menu, if you prefer.
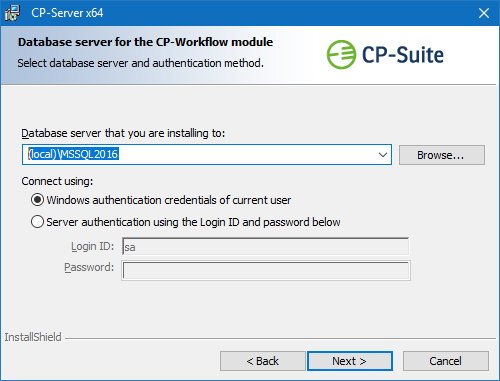
5. Database server If you have selected the CP-Cash or CP-Workflow feature, you will be asked for the authentication method and database server for each module.
Enter the applicable database server with the respective login details for each module. If you are using the same database server for all three modules, select the "Use this Microsoft SQL Server for the CP-Workflow module too" option.
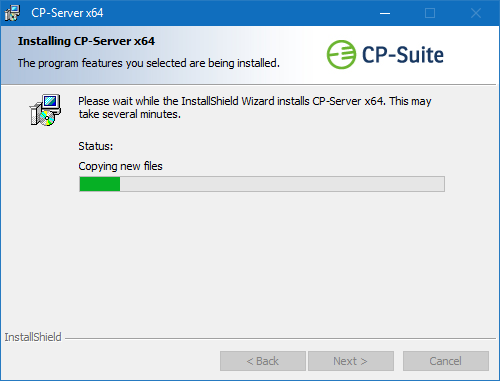
6. Installation Click on "Install" to install CP-Server with the selected features. This procedure may take several minutes depending on the system.
To complete the installation, click "Finish". This will also start the validation and configuration process in the CP-Setup Guide.
|