Installation


|
Installation |
|
|
Start the installation Run the program Setup.exe from the [DVD]:\Setups\CP-Suite\CP-Suite Client x64 folder. First, choose the language.
System prerequisites check At the beginning of the installation, a system prerequisites check is made. All the required components will install automatically. You may need to restart the system following the Microsoft .NET installation.
Select the installation directory Accept the licensing agreement, confirm or change the installation directory, and you will come to the feature selection step.
Select the installation type You can choose between "Complete" and "Custom". The installation type you select here affects the feature selection dialogue that follows.
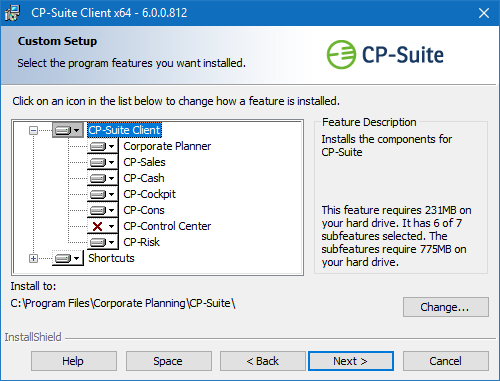
Select the features To save hard disk space, only the Corporate Planner and CP-Control Center modules and the shortcuts are selected by default in a new installation. Select additional modules to install as required. In an update, all the previously installed features will be updated.
For an explanation of the symbols, click "Help". You can select the following features:
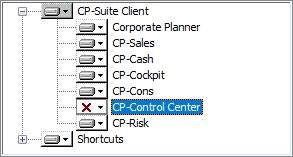
CP-Suite Client: Select the features you require, or cancel the selection of the features you do not require, by clicking the symbol in the features list:
CP-Control Center: In the CP-Control Center, you can manage all users, roles, data sources and licences, and you can assign access rights.
You can select the CP-Control Center feature here if you want to install it on the client.
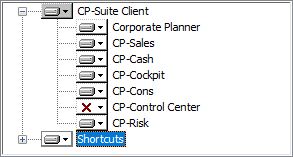
Shortcuts: The Shortcuts feature installs shortcuts in the Windows Start menu and on the desktop.
You can cancel the selection of desktop shortcuts or Start menu shortcuts if you do not want them.
CP-Server installation Here, enter the URL via which CP-Server can be accessed. This setting is needed for accessing the CP-Identity Management server. It will be applied in the next installation step.
Host name For local installations, the default setting is "localhost". However, we recommend always using the FQDN.
Path to cp.config This specification is optional. It is used in the configuration of the required URIs in the next installation step.
CP-Identity Management In this step, access to the CP-Identity server is configured. If you specified a cp.config file in the previous dialogue, the settings you made there will be applied here. Otherwise, default values will be used.
Installation Click "Next" and then "Install" to start the CP-Suite client installation. At the end, click "Finish".
|